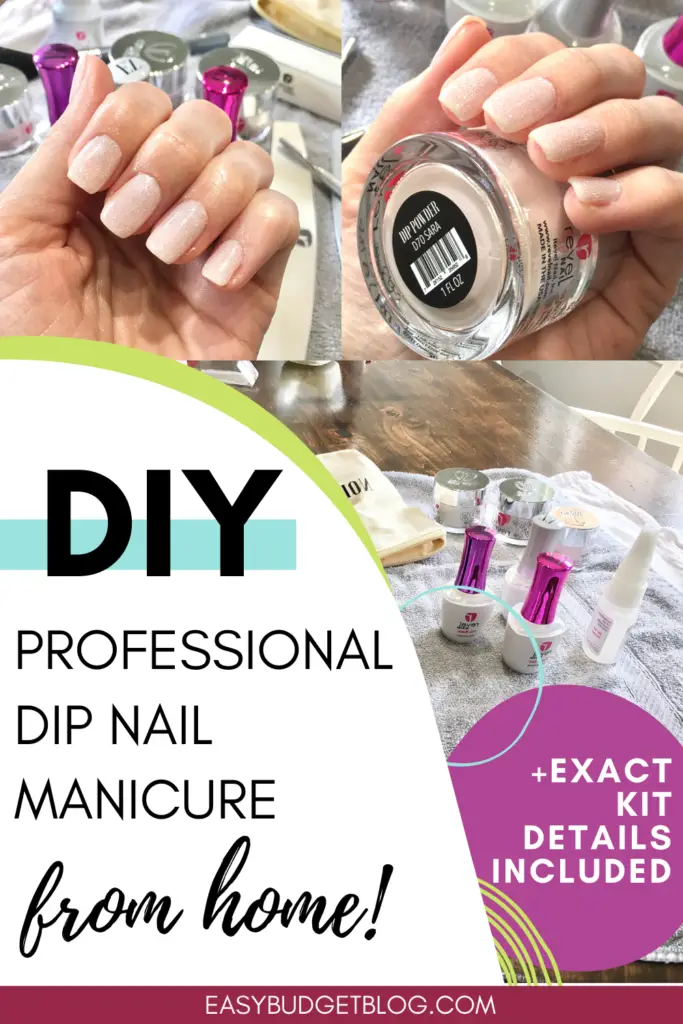
Have you ever wished you could do a DIY professional manicure at home? Well, now you can! Home dip nail kits are revolutionizing professional manicures by putting the techniques, supplies, and tools in your hands so you can skip the salon and save lots of time and hundreds of dollars every year.
How do Dip Powder Nails Work?
Dip nails are different from acrylics and gel nails. They don’t require any UV curing. You actually get the color by applying a sticky base coat, dipping your nail into colored powder, applying a hardening coat, and then a shiny top coat in a regimented set of steps.
This is the end result:
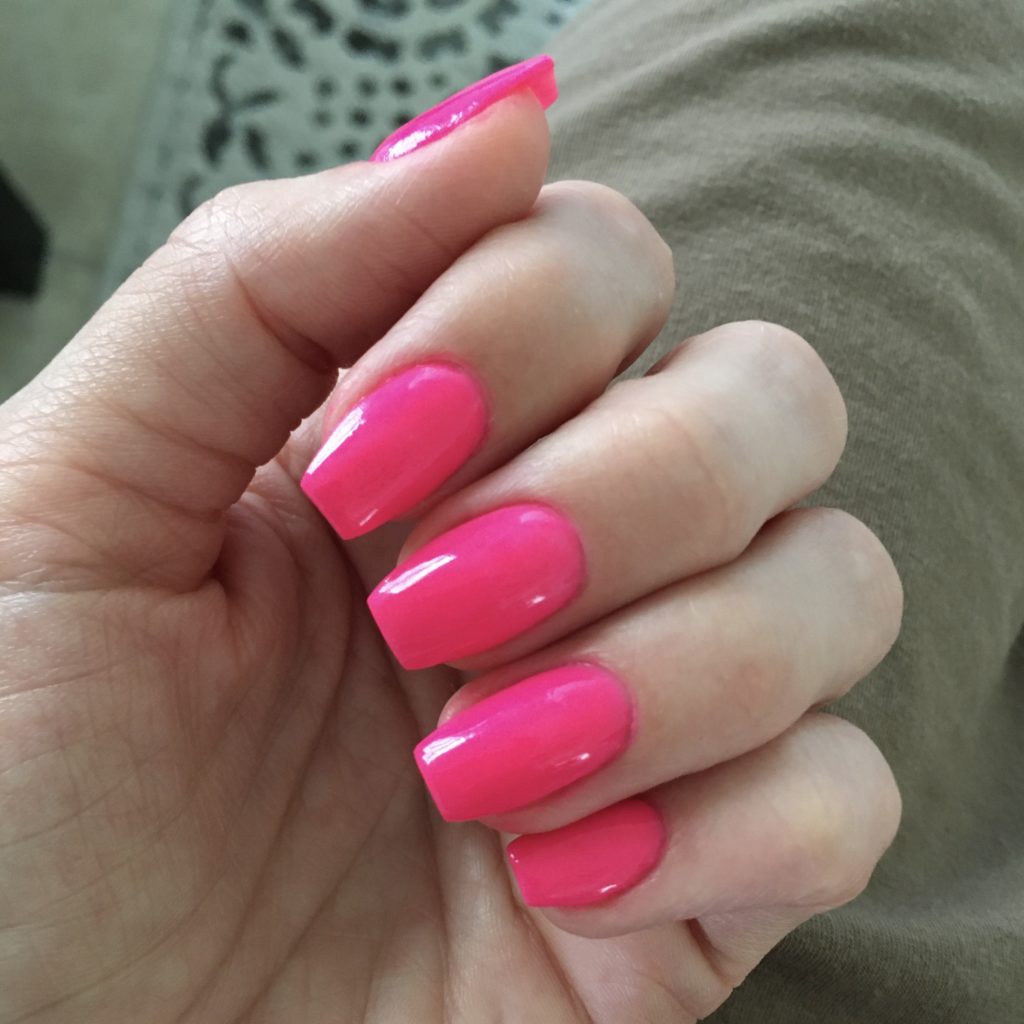
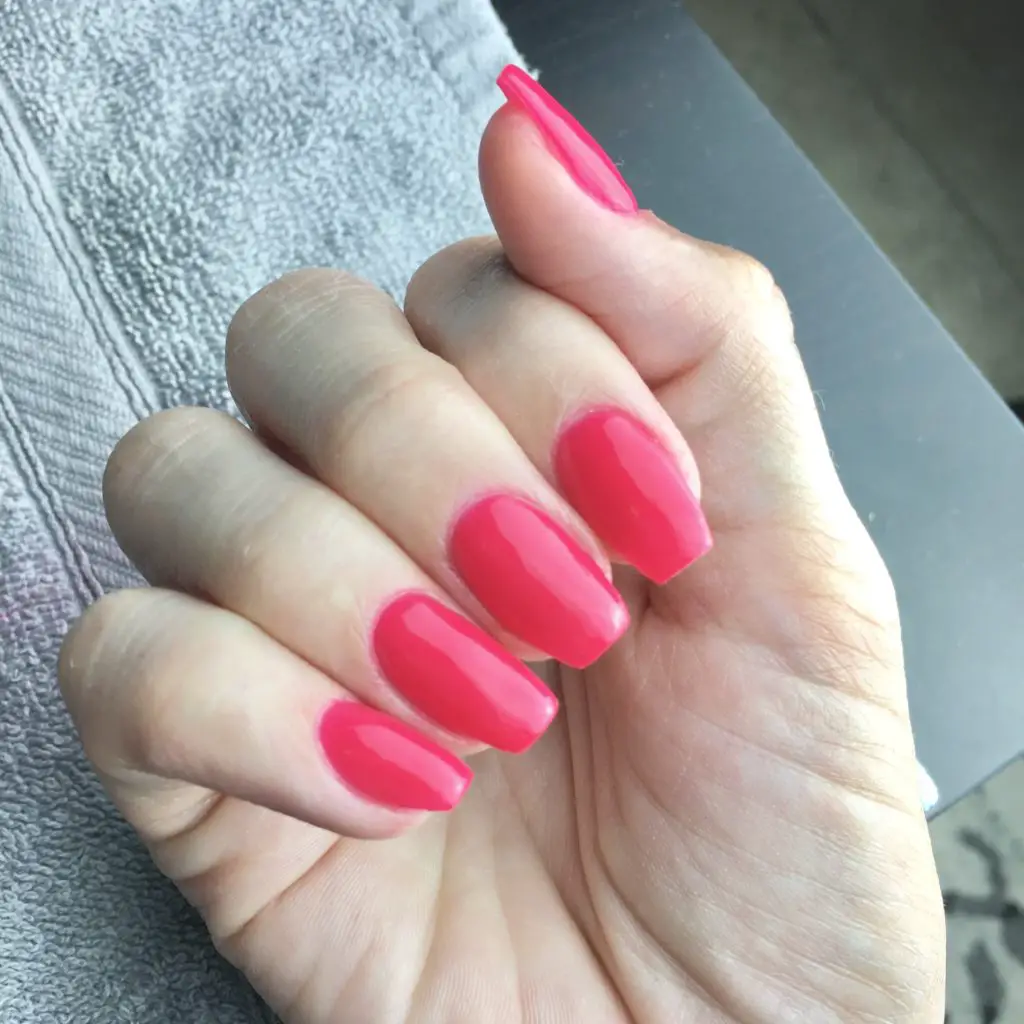
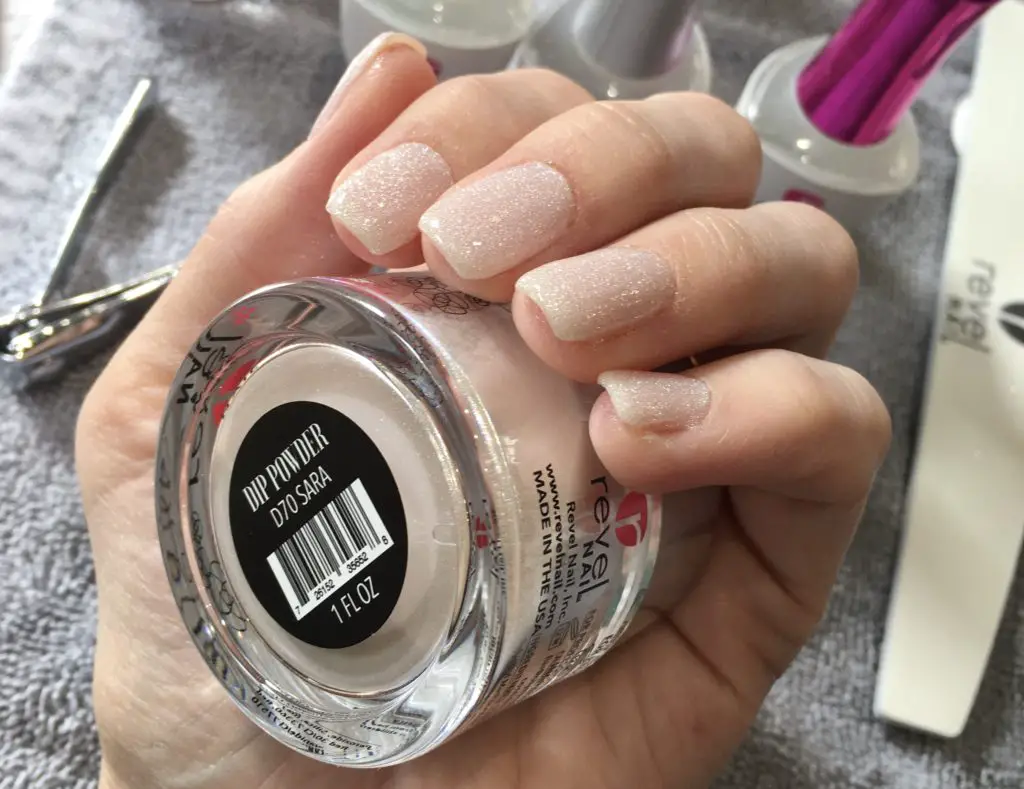
These are my real nails, no tips!
Where Can I Buy the Kit Needed to Do a Dip Powder Manicure?
Skip straight to ordering the nail kit and get 10% off your order by clicking HERE.
You can purchase a variety of dip nail kits that are lower end, even drugstore brand. These don’t tend to have quality enough ingredients and they don’t last very long.
I recommend getting a high quality brand so that your manicure lasts and doesn’t damage your nails.
The DIY professional manicure brand I am recommending to you today is called Revel Nail. I’d been keeping my eye out for a professional kit I could do at home for years. When my friend introduced me to this at-home nail dip brand, I was instantly hooked. I love this brand and truly stand behind their products. Just FYI, Revel Nail is not an MLM brand.
This manicure is done with 2 layers of Sara and 1 layer of Vivien (Clear). Shimmers are great for your first dip because they are very forgiving.
I don’t get paid to share Revel, I just really love it, think it’s the highest quality, and I know it’s going to save you a lot of moolah – and that’s my job!
Today, I’m going to tell you everything you need to know to start doing these gorgeous dip manicures yourself from home!
Tools Needed:
- Revel Nail Dip Powder Starter Kit
- Dip powder (comes with the Starter Kit)
- Revel Nail Toolkit (or high 150 grit nail file, regular 180 grit nail file, cuticle pusher, soft makeup brush)
- Cuticle oil
- 100% pure acetone (for removal, see more below)
Optional tools:
I highly recommend starting out with one of Revel’s Dip Powder Starter Kits. When you use my referral code, you will get 10% off your first order from Revel which will save you even more cash! This is an excellent quality DIY professional manicure kit. You will not be disappointed.
When it comes to supplies, start with the essential tools listed and then build up your optional supplies and materials as you go.
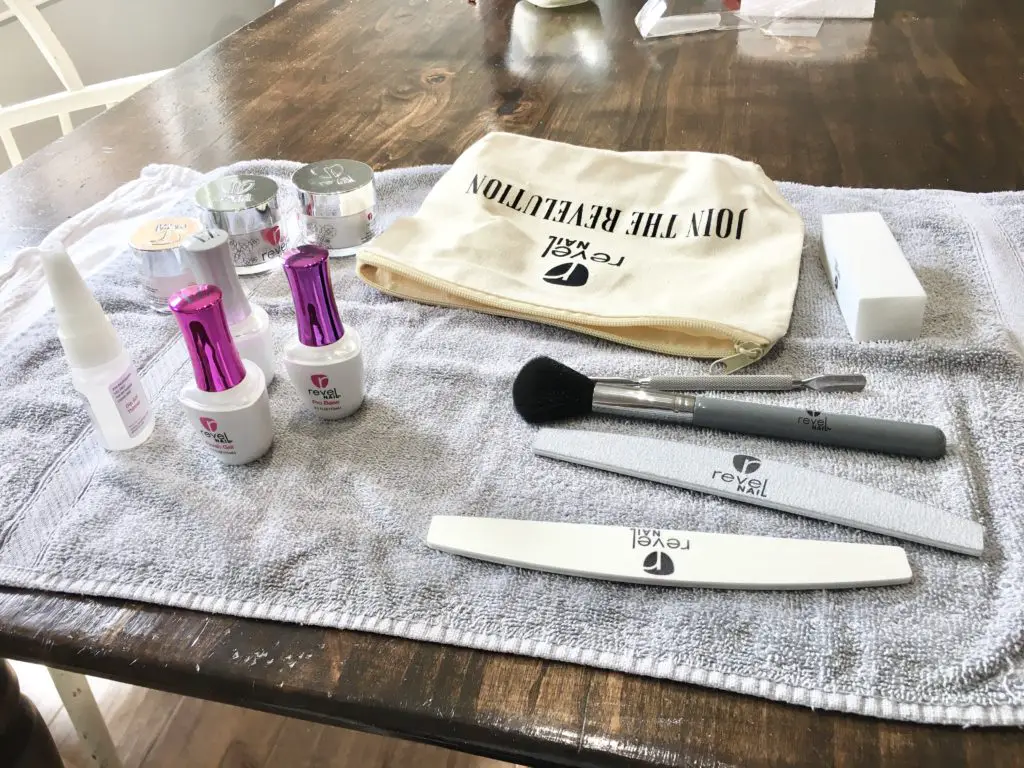
I purchased everything from Revel except the cuticle oil, acetone, and optional tools which I grabbed from Amazon.
How to Apply Dip Powder Nails
There are 12 steps to applying dip nails, but don’t get scared away! It really isn’t complicated and most of the steps are very quick. You want to follow the directions exactly for best results. This entire process only takes me 1-1.5 hours.
- Prep – Sanitize hands and push back cuticles.
- Remove shine – Using a fine drill bit or 150 grit file, remove shine from nails.
- Pro Base – Apply a thin layer of liquid #1 Pro Base using even strokes from base to tip.
- Dip – Dip finger in powder using a scooping motion and tap off excess dip powder.
- Repeat – Perform steps 3-4 again to each nail. Each nail should have 2 coats of powder.
- Activator – Apply a generous amount of #2 Activator on all ten fingers covering the edges and capping the tips of the nails. Let dry for 2 minutes.
- Shape – Shape nails with a 180 grit file or drill to remove excess powder from cuticle area.
- Buff – Smooth out nails with buffer, then rinse hands with water (no soap).
- Activator coat 2 – Apply a second coat of #2 Activator, wait one minute. Gently wipe dry with a paper towel.
- Finish gel – Apply #3 Finish Gel. The first coat should be applied using 2-3 quick brush strokes. Don’t worry about getting close to the cuticle area or capping the edges.
- Finish gel coat 2 – After one minute, apply a second coat of #3 Finish Gel. This coat is a slower more detailed coat. Do not over brush (could have a negative effect on overall shine). Manicure is dry in two minutes.
- Moisturize – Apply Revel Nail cuticle oil after nails have tried for two minutes.
Here is a Complete Tutorial Video I Made:
Time: 1-1.5 Hours
Thats it! These instructions also come with the kit.
Also, definitely join the Revel Nail Customer Community Facebook group for tons of mani Inso, tutorials, tips, tricks, etc! It’s the best way to perfect your application, removal, and get mani ideas! I’m very active in this group and love it.
Pros and Cons of DIY Dip Powder Nails
Pros
Strength – These nails are strong, and don’t feel dainty and flimsy like some gel manis I’ve gotten. I am very busy with my hands and can’t handle weak nails. These feel hard and very strong.
Dry time – Virtually no dry time. Between layers, there’s almost no dry time. The final gel top coat layer dries in 2 minutes and at that point it is super dry and hard. Not tacky like regular polish. I was able to pick up my kids and get back to my mom duties immediately, which I love.
Cost – Very inexpensive. The cost of the starter kit is cheaper than a salon dip mani!
Convenience – Don’t have to leave my house or hire a babysitter to have beautiful, professional looking nails.
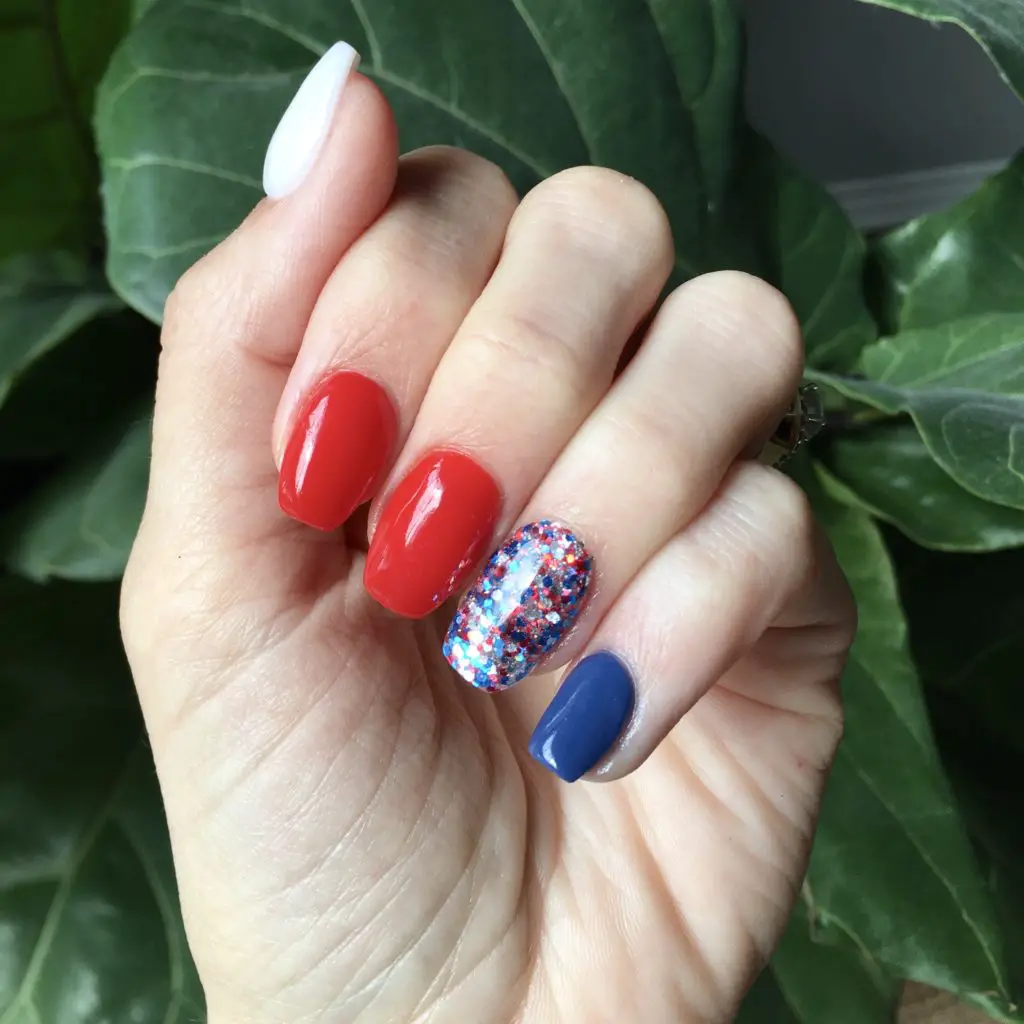
Options – Hundreds of color options.
Cons
Some skill required – Slight learning curve in application. I had a great first experience, but if you aren’t very coordinated or steady handed you may have a tricky time applying. Make sure you have all the right tools, follow the application instructions exactly, and read the troubleshooting pamphlet that comes with the kit and you will have a good first experience dipping!
Nails can become thin – A lot of people ask me if dip destroys your nails. My answer is no, it doesn’t destroy them, but it can cause them to become a bit thin. After I remove dip, I must reapply new dip ASAP or cut them short and apply a nail strengthener.
Takes the shape/length of your natural nail – I like my nail length and shape so this is actually a pro for me, but if you don’t like your nail shape, length, or your nails have a lot of issues you may not get the smoothest finish.

Mistakes I Made on My First Dip
Getting too close to the cuticle – I wanted to get close to the cuticle because I was worried about them growing out too fast, but what ends up happening is there’s too much product pooled around the cuticle so when it grows out, there’s a big ridge of product there. Stay a little ways off the cuticle to avoid this!
Too many layers of dip – I accidentally applied more pro base on step 6 instead of activator! So I had to dip all my nails again and did one too many layers. It made my nails a little thick but it wasn’t a huge deal!
Not filing away lumps– In step 8 you have the opportunity to shape and file the nail. I wasn’t thorough enough here and had a few lumpy spots I didn’t smooth out! Not terrible, but next time I will run my fingers over every nail feeling for lumps.
Inevitably on your first couple dips there may be a few kinks to work out. Make sure you read the troubleshooting tips that come in the pamphlet with your kit and also join the Revel Nail Customer Community Facebook group for more questions and troubleshooting tips!
How to Remove the Dip Safely and Quickly Without Damaging the Nails
There are several ways to remove dip nails. All of them will require 100% pure acetone! This is a FAST HACK removal video I made to show you how I remove mine in just 8 minutes!
Removal tools needed:
- Large bowl
- Ziplock baggie
- 100% Pure acetone (I like the Blue Gel Soakoff)
- Green dish scour pad
- Coconut oil (optional)
Time: 15 minutes
If your nails are thin and weak right now or they become thin and weak from dipping, strengthen them with OPI Nail Envy.
I hope you enjoyed this DIY Professional Dip Powder Manicure tutorial! I know it will save you so much money and have you feeling gorgeous and put together on a budget.
Follow @revelnail on Instagram for nail inspo!
Join the Revel Nail Customer Community Facebook group for tons of mani Inso, tutorials, tips, tricks, etc!
Did you enjoy this DIY Professional Manicure tutorial? If so, save this to your beauty Pinterest board!


7 Responses
I’ve been struggling with some imperfections in my dipped nails. Watching your tutorial has helped me more than anything else. Thank you!
I’m so glad!! I love this stuff!
About how many manicures can you get from one kit?
Quite a few- Each 5oz jar of dip powder (the smallest size, they also sell 1oz and 2oz) does around 20 manicures at least. If you buy and use several colors (which most people do), you are more likely to run out of liquid and need to replace that! If you take good care of your liquids (meaning the jars don’t get sealed shut on accident!), those should last for 15-20 manicures, or around 6 months if you are doing 2-3 manicures per month. Hope that helps!
Thanks for the tutorial and tips. Trying this for the first time in a little bit. I miss manicures but I use my hands so much I am just too hard on them to waste the money at the salon. Love the video with your little in the background hahah typical mom life!! Thanks again!
It’s really hard to fork out the money to get a professional mani all the time! I hope you enjoy!